If you’re setting up a home music studio with a Mac, choosing the right audio interface is one of the most important decisions you’ll make. A good audio interface ensures your recordings sound clear, professional, and free of latency issues. With so many options on the market, finding a device that matches your needs and budget can be overwhelming.
Fortunately, understanding the key features to look for and reading detailed Mac audio interface reviews can help you make an informed choice. Whether you’re into vocal recording, producing electronic music, or recording live instruments, the right interface can transform your home studio experience and bring your creative ideas to life.
Understanding the Importance of a Quality Mac Audio Interface
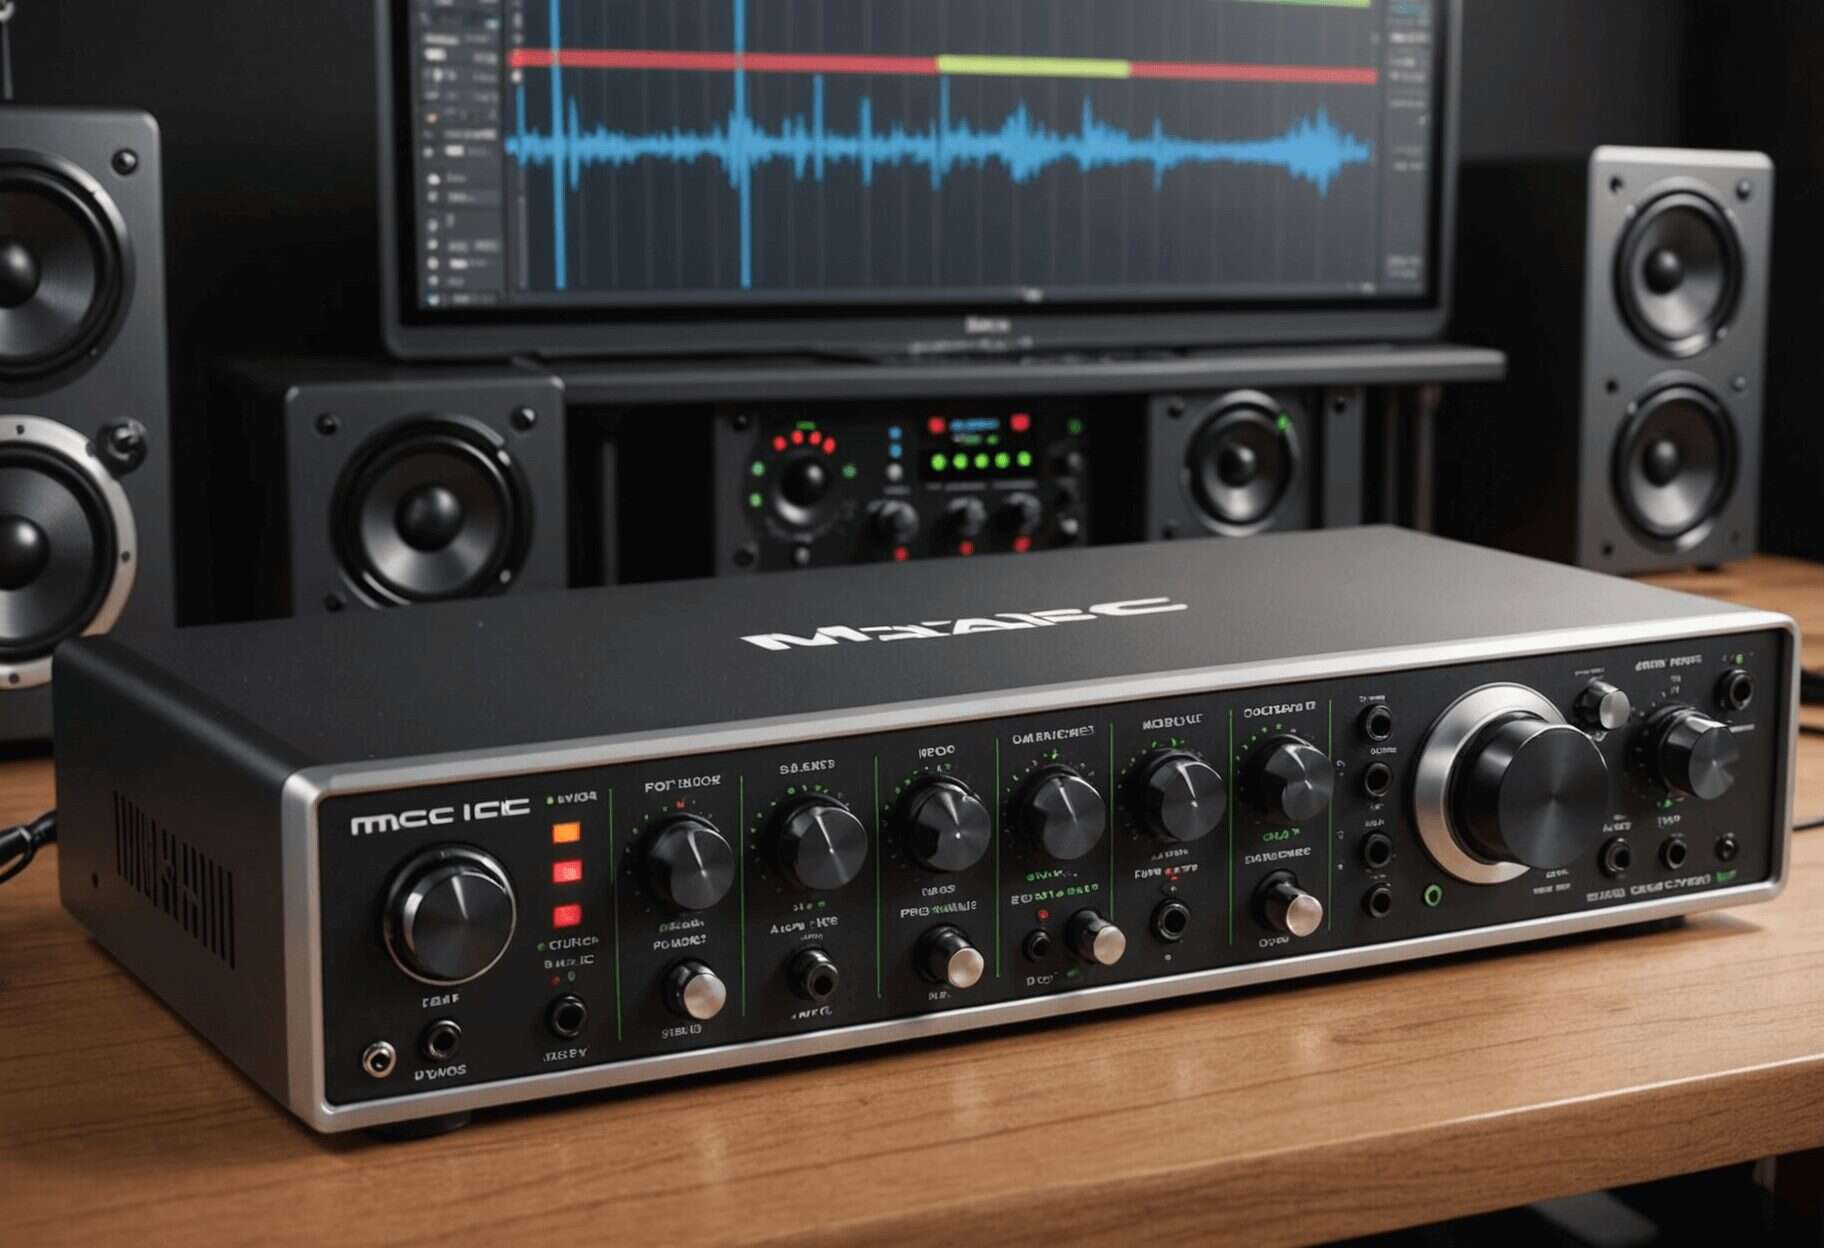
An audio interface acts as the bridge between your instruments, microphones, and your Mac computer. It converts analog signals into digital data that your recording software can process. The quality of this conversion directly impacts your audio clarity and overall production quality.
Investing in a reliable Mac-compatible audio interface provides several benefits:
- Clearer Sound Quality: High-quality converters ensure accurate audio reproduction and recording fidelity.
- Lower Latency: Reduces the delay between playing or singing and hearing the output, which is essential during recording sessions.
- Greater Connectivity Options: Multiple inputs and outputs allow recording of several tracks simultaneously.
- Durability and Reliability: Well-built hardware minimizes interruptions during sessions.
Key Features to Consider in Mac Audio Interfaces
Compatibility and Driver Support
While most modern audio interfaces are compatible with Mac systems, it’s crucial to verify that the device you’re considering has robust driver support for your macOS version. Compatibility ensures seamless operation without interruptions or glitches during recording or playback.
Number and Type of Inputs and Outputs
Assess your needs for inputs and outputs. Beginners often start with a 2-in/2-out model sufficient for vocals and guitar. More advanced setups may require multiple XLR and line inputs, MIDI connections, or dedicated headphone outputs. Think about your future projects to choose an interface that can grow with your needs.
Preamp Quality and Gain Range
Preamp quality affects how accurately microphones capture sound. Higher-quality preamps offer cleaner gain and less noise. Check the gain range to ensure your microphone or instrument signals are captured clearly without distortion.
Build Quality and Design
Since home studio gear can be used frequently, selecting a durable and well-designed interface helps it withstand daily use. Additionally, a sleek, compact design can save space on your desk and make setup easier.
Top Picks for Mac Audio Interfaces for Home Studios
There are numerous options available, each catering to different budgets and requirements. Some of the most popular choices among home studio owners include:
- Focusrite Scarlett series
- PreSonus AudioBox
- Universal Audio Apollo Twin
- Audient ID series
- MOTU M2 and M4
How to Choose the Best Interface for Your Home Studio
Assess Your Recording Needs
Determine what you plan to record most often. If you mainly record vocals and guitar, a simple 2-in/2-out interface may suffice. However, if you plan to record drums or multiple instruments simultaneously, opt for a model with more inputs.
Set a Realistic Budget
Quality audio interfaces are available across a range of prices. While it might be tempting to save money, investing in a slightly more expensive model ensures better sound quality, durability, and future-proofing. Remember, a good interface can last several years with proper care.
Read Real User Reviews and Test When Possible
User reviews can reveal common issues and real-world performance insights. If you can, visit a local store to test the interface with your own gear or read detailed reviews from trusted audio sources. This firsthand experience helps confirm your choice.
Practical Tips for Setting Up Your Mac Audio Interface
- Connect the interface directly to your Mac using a high-quality USB, Thunderbolt, or USB-C cable.
- Download and install the latest drivers from the manufacturer’s website for optimal performance.
- Configure the input and output settings in macOS system preferences and your audio recording software.
- Use high-quality microphones and cables to minimize noise and interference.
- Calibrate your input levels to avoid clipping or low signal levels during recordings.
Additional Accessories to Consider for Your Home Recording Setup
To maximize the performance of your Mac audio interface, consider investing in accessories like:
- Professional studio headphones for accurate monitoring
- Microphone stands and pop filters for clean recordings
- Acoustic treatment to improve room acoustics
- High-quality XLR and TRS cables for reliable connections
Conclusion
Choosing the right Mac audio interface is a critical step in establishing a successful home recording setup. It influences your sound quality, workflow efficiency, and overall creative experience. By understanding the features that matter most—like compatibility, inputs, preamp quality, and build durability—you can make an educated investment that serves your current needs and grows with your projects.
Remember that the best interface varies based on your individual requirements. Take your time to research, read reviews, and test devices if possible. With the right gear in hand, you’ll be ready to record professional-quality music right from your home studio.
For a list of some of the top-rate mac audio interfaces on the market, explore your options carefully and choose the one that fits your workflow. With the right setup, your music production journey can become more enjoyable and creatively fulfilling. Start exploring your options today and take the first step towards capturing your best sound.